


A draft marked “done” doesn’t always mean it’s actually ready to publish — it might still need legal sign-off, brand approval, or a final check from a stakeholder who hasn’t looked at it yet. Without a clear system, approval status lives in scattered comments, emails, or someone’s memory. Building a content approval pipeline in Trello using Custom Fields fixes this by making approval status, reviewers, and sign-off stages visible directly on the card — no guessing required.
This guide walks through exactly how to set up Custom Fields to track content approvals, so nothing publishes without the right eyes on it first.
Key Takeaways
- A content approval pipeline in Trello works best when approval status lives on the card itself, not in a separate document or chat thread.
- Custom Fields let you track approval stage, reviewer, and sign-off status directly on the card front.
- Dropdown-style fields keep approval status consistent, avoiding vague or inconsistent labels across a team.
- Combining Custom Fields with Butler automation can notify reviewers automatically when content reaches their stage.
- A clear approval pipeline prevents unapproved content from accidentally moving to a “Scheduled” or “Published” list.
Why Approval Status Needs to Live on the Card
Most editorial delays around approvals happen because the status isn’t visible where the work actually is. An editor might mark a post as “reviewed” in a Slack message that a stakeholder never sees, or a legal sign-off might happen over email while the Trello card itself still just says “In Review” with no further detail. Building a content approval pipeline in Trello using Custom Fields solves this by attaching approval data directly to the card, so anyone looking at the board sees the real, current status.
Step 1: Enable the Custom Fields Power-Up
Custom Fields aren’t active by default on a Trello board and need to be enabled first.
H3: Activation Steps
- Open your board and click the Menu icon (the three-dot ellipsis).
- Select Power-Ups.
- Search for “Custom Fields” in the Power-Ups directory.
- Click Add to enable it on your board.
Once enabled, every card on the board gains the ability to display Custom Fields directly on its front and back.

Step 2: Design the Right Fields for Your Approval Pipeline
Not every field type suits every kind of approval data. Choosing the right field type for each piece of information keeps your content approval pipeline in Trello consistent and easy to scan.
H3: Recommended Fields for Approval Tracking
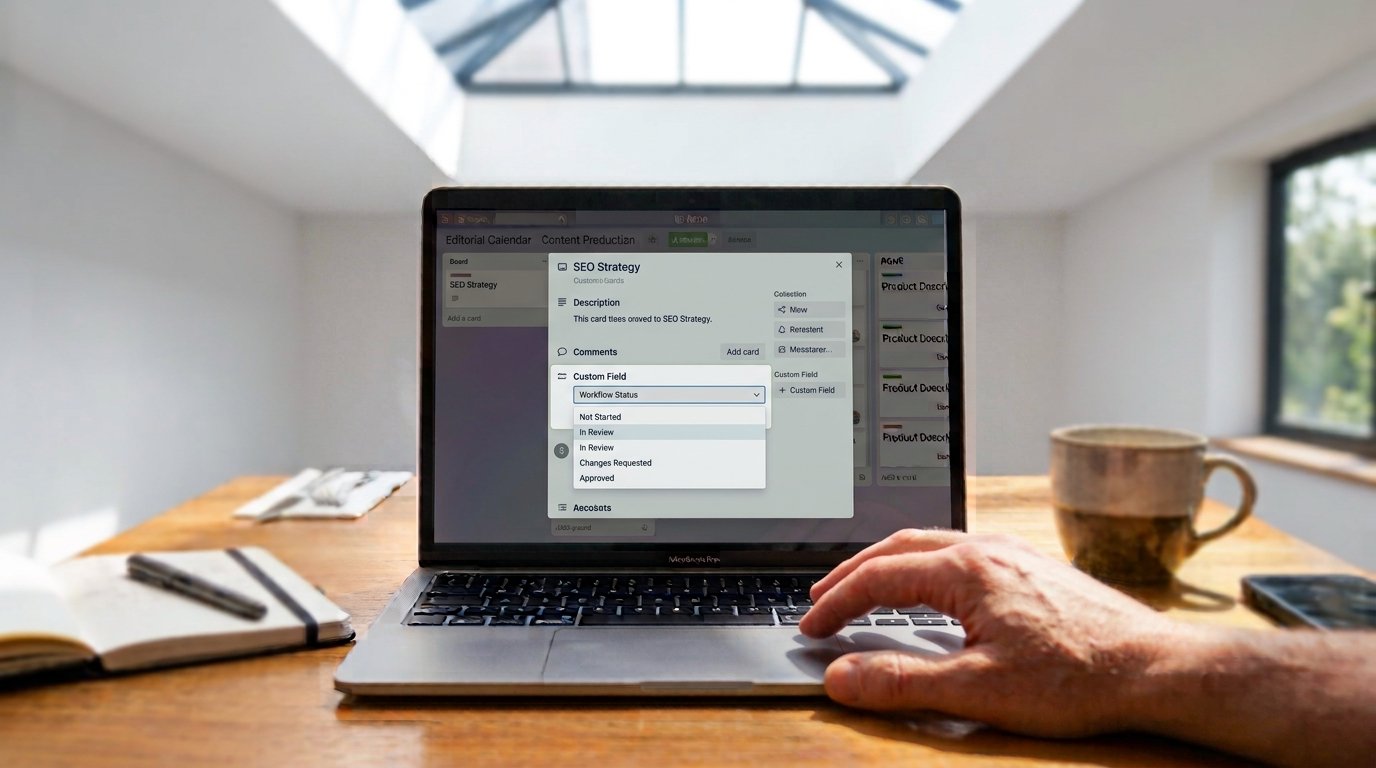
- Approval Status (Dropdown) — options like “Not Started,” “In Review,” “Changes Requested,” “Approved”
- Reviewer (Text or linked to a member) — who is responsible for the current approval stage
- Approval Stage (Dropdown) — for multi-step pipelines, such as “Editorial Review,” “Legal Review,” “Final Sign-off”
- Approval Date (Date) — when the final sign-off was given
- Notes (Text) — a short field for specific feedback tied to the current stage
H3: Why Dropdown Fields Work Better Than Free Text for Status
A free-text field invites inconsistency — one person types “approved,” another types “Good to go,” and filtering the board by status becomes unreliable. Dropdown fields force everyone to select from the same fixed set of options, which is what actually makes a content approval pipeline in Trello scannable at a glance.
Step 3: Add Fields to Your Cards
Once your fields are designed, apply them consistently across your content cards.
H3: How to Add a Field to a Card
- Open any card and scroll to the Custom Fields section.
- Click into each field and select or enter the relevant value.
- Enable the option to display the field on the card front, so approval status is visible without opening the card.
Step 4: Build a Multi-Stage Approval Pipeline
For content that requires more than one round of sign-off — editorial, legal, and brand approval, for example — structure your Approval Stage field to reflect each checkpoint individually.
H3: Example Multi-Stage Setup
- Editorial Review — content reviewed for accuracy, tone, and SEO
- Legal Review — checked for compliance or claims that require verification
- Brand/Stakeholder Review — final check against brand guidelines or stakeholder expectations
- Final Sign-off — approved and ready for scheduling
Updating the Approval Stage field as content moves through each checkpoint keeps everyone aligned on exactly where a piece stands, without needing to ask.
Step 5: Automate Notifications Based on Approval Status
Custom Fields display information, but pairing them with Butler automation makes your content approval pipeline in Trello actively notify the right people instead of relying on someone checking the board.
H3: Useful Automation Rules
- Notify the legal reviewer automatically when the Approval Stage field changes to “Legal Review.”
- Alert the content manager when Approval Status changes to “Changes Requested,” so revisions get addressed quickly.
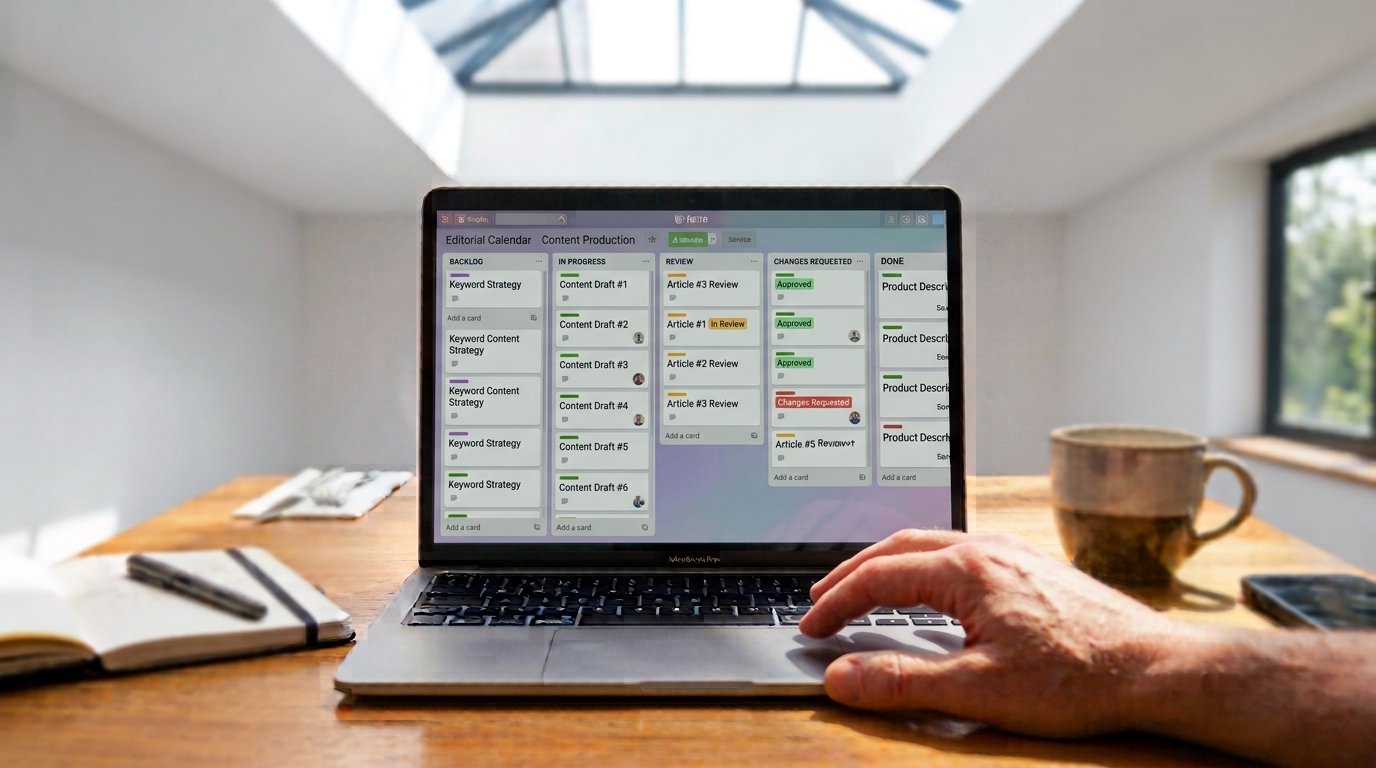
- Flag the card visually with a label when Approval Status reaches “Approved,” making it easy to filter for scheduling-ready content.
Step 6: Prevent Unapproved Content From Moving Forward
A well-built content approval pipeline in Trello should make it visually obvious when a card isn’t ready to move to your “Scheduled” list.
H3: Practical Safeguards
- Use a filtered view showing only cards where Approval Status is not “Approved,” and review that filtered list before finalizing your publishing schedule.
- Add a checklist item on the “Scheduled” list’s template card confirming approval status was checked before the card was moved.
- Consider a Butler rule that flags (though doesn’t necessarily block) any card moved into “Scheduled” while its Approval Status field isn’t set to “Approved.”
Common Mistakes to Avoid
- Using free-text fields for status — this leads to inconsistent labeling that’s hard to filter or scan.
- Not displaying fields on the card front — burying approval status inside the card defeats the purpose of at-a-glance visibility.
- Skipping a defined stage structure — a single generic “Approved/Not Approved” field doesn’t capture multi-step approval processes accurately.
- No automation tied to status changes — without notifications, reviewers may not know content is waiting on them.
Conclusion
A properly structured content approval pipeline in Trello turns a process that usually lives in scattered comments and emails into something visible, consistent, and trackable directly on the card. By enabling Custom Fields, designing dropdown-based status and stage fields, and pairing them with Butler automation for notifications, your team gains real clarity on what’s approved, what’s pending, and what still needs review. Set the fields up once, and every piece of content that passes through your board benefits from the same clear approval trail.
FAQs
How do I add Custom Fields to a Trello card? Enable the Custom Fields Power-Up from your board’s Power-Ups menu, then open any card to add and configure fields like dropdowns, text, or dates.
What’s the best field type for tracking approval status in Trello? A dropdown field works best for approval status, since it keeps labeling consistent across a team compared to a free-text field.
Can Trello automatically notify a reviewer when content needs approval? Yes, using Butler automation, you can set a rule that notifies a specific reviewer whenever a Custom Field, like Approval Stage, changes to their designated stage.
How do I track multiple approval stages in one Trello card? Use a single Approval Stage dropdown field with options representing each checkpoint, such as Editorial Review, Legal Review, and Final Sign-off, updating it as the content progresses.
Can I filter my Trello board by approval status? Yes, once Custom Fields are set up, you can use Trello’s filter feature to display only cards matching a specific approval status, such as “Changes Requested” or “Approved.”
