

Juggling Instagram captions, LinkedIn posts, and TikTok scripts across separate notes apps and spreadsheets is a fast way to miss a posting day. Building a social media content calendar in Trello solves this by giving every platform, post, and deadline a single visual home you can actually manage in minutes a day.
This step-by-step guide walks through exactly how to structure your board, organize content by platform, and set up the automation that keeps your social calendar running without constant manual upkeep.
Key Takeaways
- A social media content calendar in Trello works best when each platform has its own labels or dedicated list structure.
- The core workflow follows five stages: Ideas → Drafting → Design/Visuals → Scheduled → Posted.
- Labels and custom fields let you filter by platform, content type, or campaign in seconds.
- The Calendar Power-Up turns your board into a real monthly posting schedule.
- Butler automation can auto-move posts to “Posted” and archive old content automatically.
Why Trello Works for Social Media Planning
Social content moves fast, and it’s rarely just “write and publish” — there’s copywriting, visual design, approval, and platform-specific formatting involved at every step. A social media content calendar in Trello captures all of that on one card, instead of scattering it across a caption doc, a design folder, and a scheduling tool.
The biggest advantage is visibility: at a glance, you can see what’s drafted, what’s waiting on graphics, and what’s approved and ready to go live — across every platform you manage.
Step 1: Build the Board Structure
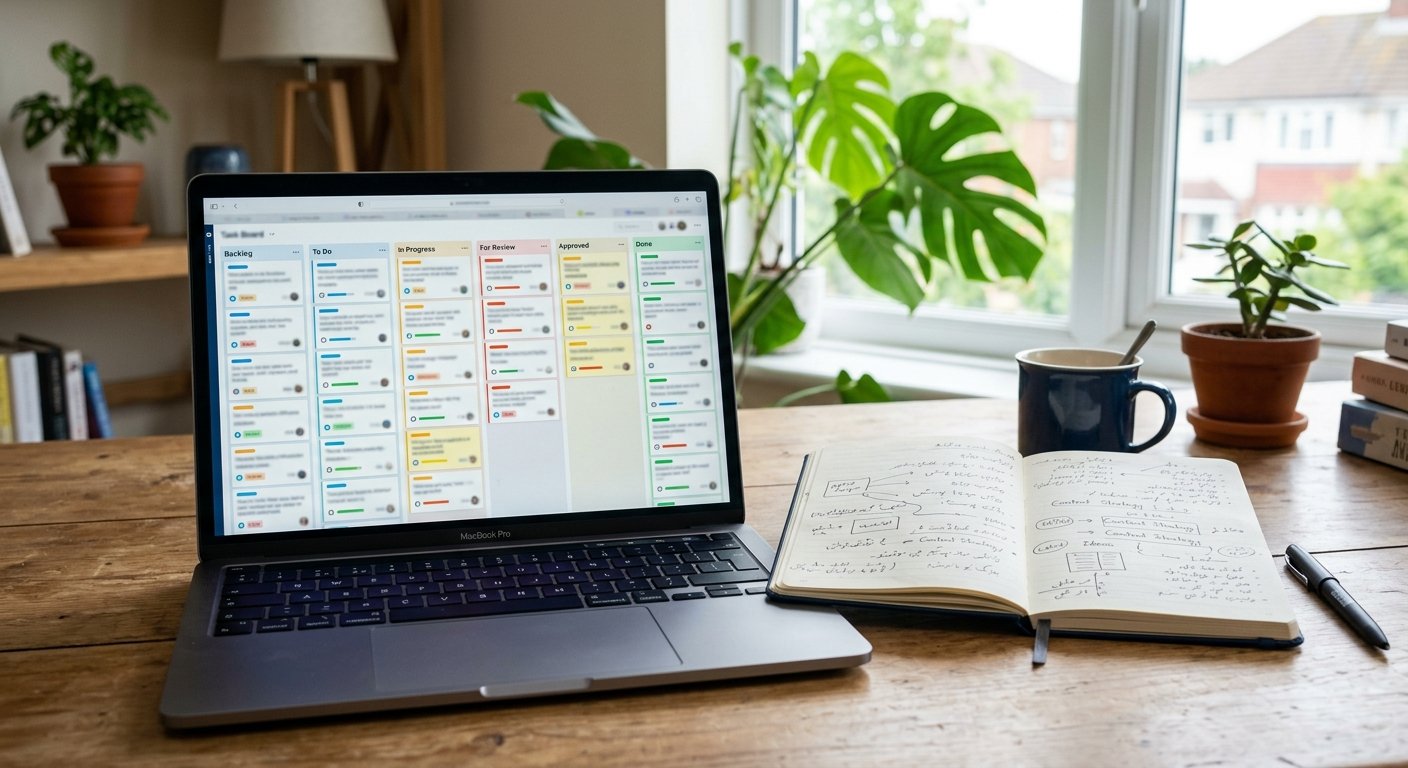
Start with a list structure that mirrors how a social post actually moves from idea to publish.
Recommended Lists
- Content Ideas — a running backlog of post concepts and trends worth covering.
- Copy & Caption Drafting — where captions, hooks, and hashtags get written.
- Design & Visuals — graphics, video edits, or carousel slides in progress.
- Approval / Review — final sign-off before scheduling.
- Scheduled — content dated and ready to publish.
- Posted — an archive of everything that’s gone live.
This structure keeps your social media content calendar in Trello organized around the real production process, not just a generic to-do list.
H3: Should You Use One Board or Multiple Boards?
For a single person managing one or two platforms, one board is enough. For teams managing five-plus platforms or multiple clients, consider one board per platform or per client, linked together through Trello’s Workspace view so you can still see everything without the board becoming cluttered.
Step 2: Organize by Platform with Labels
Once your lists are set, the next step in building a social media content calendar in Trello is separating content by platform so your board doesn’t turn into a mixed pile of unrelated posts.
H3: Setting Up Platform Labels
Create a distinct color label for each platform you manage — for example, blue for Instagram, black for TikTok, and teal for LinkedIn. Apply the relevant label to every card so you can filter the board instantly to see only that platform’s content.
H3: Using Custom Fields for Post Details
Add custom fields for:
- Post format (Reel, carousel, static image, story, article)
- Campaign name (for tracking themed content series)
- Assigned team member (writer, designer, or approver)
These fields keep essential post details visible on the card front without opening it, which speeds up planning sessions significantly.
Step 3: Add the Calendar Power-Up for a True Posting Schedule
A list-based board shows workflow stages, but it doesn’t show when things are going live — that’s what the Calendar Power-Up adds.
H3: How to Enable It
- Open your board and click Power-Ups.
- Search for Calendar and click Add.
- Assign a due date to every card representing the intended posting date.
- Switch to the new Calendar tab to see your entire posting schedule laid out by month.
This step is what actually makes your board function as a social media content calendar in Trello, rather than just a task tracker.

Step 4: Build Reusable Card Templates
To keep post creation fast and consistent, set up a card template for each content format you regularly post.
H3: What to Include in a Card Template
- A checklist: draft caption → attach visuals → add hashtags → get approval → schedule
- Placeholder fields for platform, format, and campaign
- A due date field ready to be filled in
Once a template card exists, duplicating it for a new post takes seconds instead of rebuilding the structure from scratch every time.
Step 5: Automate the Repetitive Parts with Butler
Manual board maintenance is the biggest reason social calendars fall apart over time. Trello’s built-in Butler automation removes most of that manual work.
H3: Useful Automations for Social Calendars
- Auto-move to “Posted” — when a card’s due date passes and it’s marked complete, move it automatically into the Posted list.
- Auto-archive old posts — archive cards in “Posted” after 30 days to keep the active board clean.
- Recurring content reminders — auto-create a new card each week for recurring series like “Weekly Tips” or “Behind the Scenes.”

Step 6: Review and Adjust Weekly
Even with automation, a social media content calendar in Trello needs a short weekly check-in to stay accurate.
- Monday: Review the week’s scheduled posts and confirm visuals are ready.
- Midweek: Check the “Ideas” list and add anything trending worth covering.
- Friday: Look ahead at next week’s Calendar Power-Up view to spot gaps early.
Common Mistakes to Avoid
- Mixing all platforms into one list without labels — this makes filtering and planning nearly impossible at scale.
- Skipping due dates — without them, the Calendar Power-Up view stays empty.
- No approval stage — posts going live without review risk typos, broken links, or off-brand content.
- Letting old posts pile up — archive published content regularly to keep the board fast and easy to scan.
Conclusion
Building a social media content calendar in Trello doesn’t require expensive scheduling software — just a board structured around your actual workflow, platform-based labels, the Calendar Power-Up, and a few Butler automations to handle the repetitive parts. Once it’s set up, planning a week of content becomes a matter of dragging cards and checking a calendar view, instead of hunting through scattered notes and spreadsheets. Set it up once, and it keeps working for you every week after.
FAQs
How do I create a social media content calendar in Trello for free? Trello’s free plan includes everything needed — boards, lists, labels, and the Calendar Power-Up — to build a complete social media content calendar at no cost.
Can I manage multiple social platforms on one Trello board? Yes. Use distinct color labels for each platform, or custom fields to track platform, format, and campaign details on every card.
What’s the best list structure for a social media content calendar in Trello? A six-stage structure works well: Content Ideas, Copy & Caption Drafting, Design & Visuals, Approval, Scheduled, and Posted.
Does Trello support scheduling posts directly to social platforms? Trello itself doesn’t auto-publish to social platforms, but it organizes your content and deadlines, and can be paired with a scheduling tool or Power-Up integration for direct posting.
How often should I update my social media content calendar in Trello? A short weekly review — checking scheduled posts, refreshing the ideas list, and previewing the following week’s calendar — keeps the board accurate without heavy daily maintenance.
