


Manually copying rows from a spreadsheet into individual Trello cards is slow, repetitive, and easy to get wrong once you’re dealing with more than a handful of entries. Learning how to create Trello cards from Google Sheets automatically removes that manual step entirely, turning every new spreadsheet row into a ready-to-use card without you touching Trello at all.
This guide walks through the exact setup using Zapier, the most reliable no-code way to connect the two tools, plus tips for keeping the automation clean and error-free.
Key Takeaways
- You can create Trello cards from Google Sheets automatically using Zapier’s no-code automation platform, with no developer involvement required.
- The core setup uses a “New Spreadsheet Row” trigger connected to a “Create Card” action.
- Mapping spreadsheet columns to card fields (title, description, due date) is what makes each generated card genuinely usable.
- You can choose between an instant trigger for new rows only, or one that also fires on updated rows.
- This automation works well for lead intake, content submissions, bug reports, or any recurring form-to-task workflow.
Why Automate Trello Card Creation from a Spreadsheet
Spreadsheets are often where data first lands — a Google Form submission, a client intake sheet, a content request list — but that’s rarely where the actual work happens. By setting up an automation to create Trello cards from Google Sheets, every new row becomes an actionable card the moment it’s added, keeping your team’s task board current without anyone manually transferring data.
This is especially useful for teams collecting requests through a Google Form that feeds into a spreadsheet, since the entire path from form submission to Trello card becomes fully automatic.
Step 1: Connect Google Sheets and Trello in Zapier
Zapier is the tool that bridges the two platforms, since Trello and Google Sheets don’t have a native, built-in integration with each other.
H3: Setup Steps
- Create a free Zapier account if you don’t already have one.
- Click Create Zap to start a new automation.
- Search for and select Google Sheets as your trigger app.
- Connect your Google account and authorize access to your spreadsheets.
- Search for and select Trello as your action app, then connect and authorize your Trello account.
Once both accounts are connected, Zapier can pass data between them automatically.

Step 2: Choose Your Trigger Type
Zapier offers a couple of trigger options depending on how you want new rows to be detected.
H3: New Spreadsheet Row (Recommended for Most Users)
This trigger fires only when a completely new row is added to the bottom of your sheet — ideal for most workflows like form submissions or manually added entries.
H3: New or Updated Spreadsheet Row
This trigger fires both when a new row is added and whenever an existing row is edited. Use this option only if you specifically want edits to existing entries to also generate new Trello cards, since it can create duplicates if used carelessly.
For most people trying to create Trello cards from Google Sheets automatically, the standard “New Spreadsheet Row” trigger is the safer, more predictable choice.
Step 3: Select Your Spreadsheet and Worksheet
After choosing your trigger, Zapier will ask you to specify exactly which spreadsheet and which worksheet (tab) within it to monitor.
- Select the correct Google Sheets file from the dropdown list.
- Choose the specific worksheet tab where new rows will be added.
- Test the trigger by pulling in a sample row to confirm Zapier is reading your data correctly.
Getting this step right matters — if your team uses multiple tabs in the same spreadsheet, selecting the wrong one means the automation will silently never fire.
Step 4: Set Up the “Create Card” Action
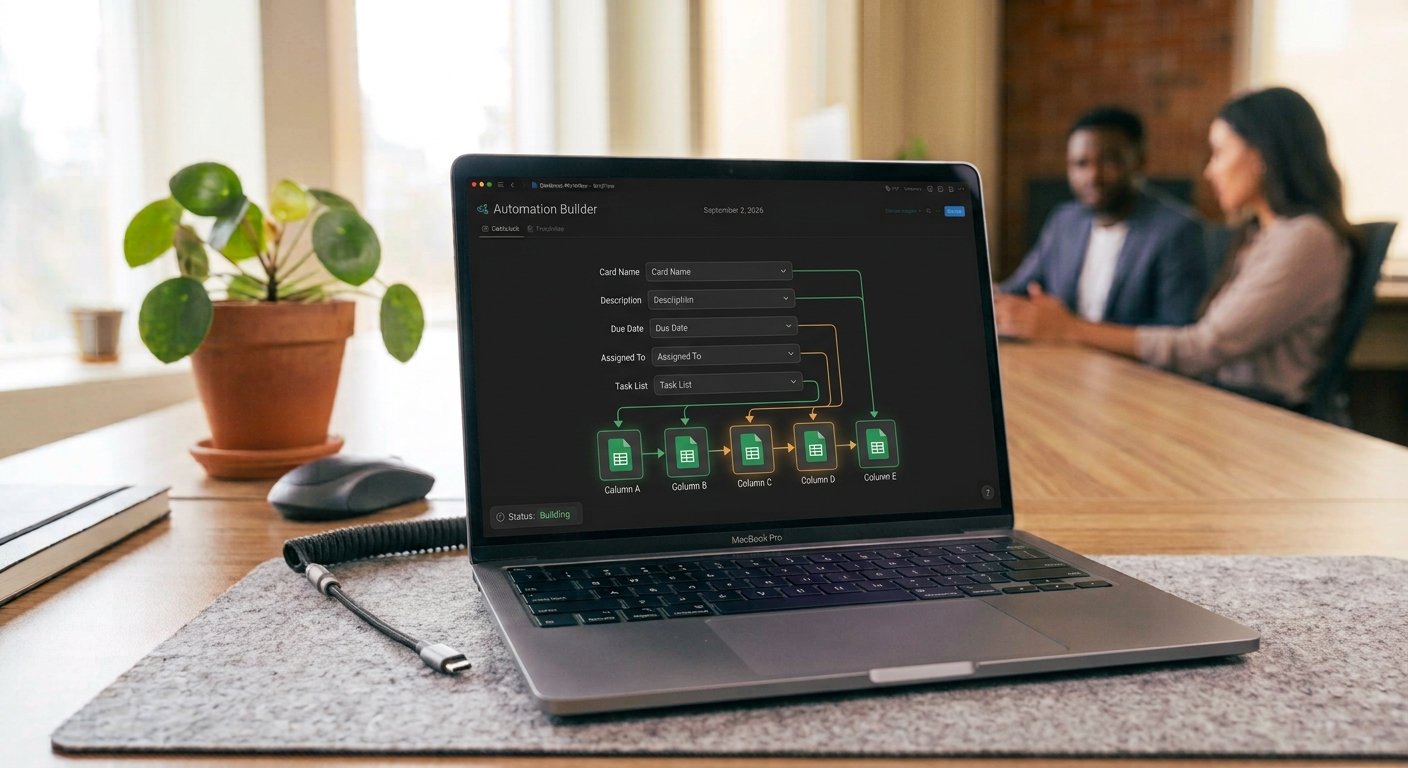
This is where you define exactly what each generated Trello card will look like.
H3: Fields to Map
- Board — select which Trello board the card should be created on
- List — choose which list (e.g., “New Requests” or “Ideas”) the card lands in
- Card Name — map this to the relevant spreadsheet column, such as a title or subject field
- Description — map to a details or notes column, or combine several columns for more context
- Due Date — map to a date column if your spreadsheet includes one
Mapping fields correctly is what separates a genuinely useful automation from one that just dumps unstructured data into Trello.
Step 5: Test and Activate the Automation
Before relying on the automation for real work, run a test to confirm everything is mapped correctly.
- Add a sample row to your Google Sheet with realistic data.
- Run Zapier’s built-in test for the action step.
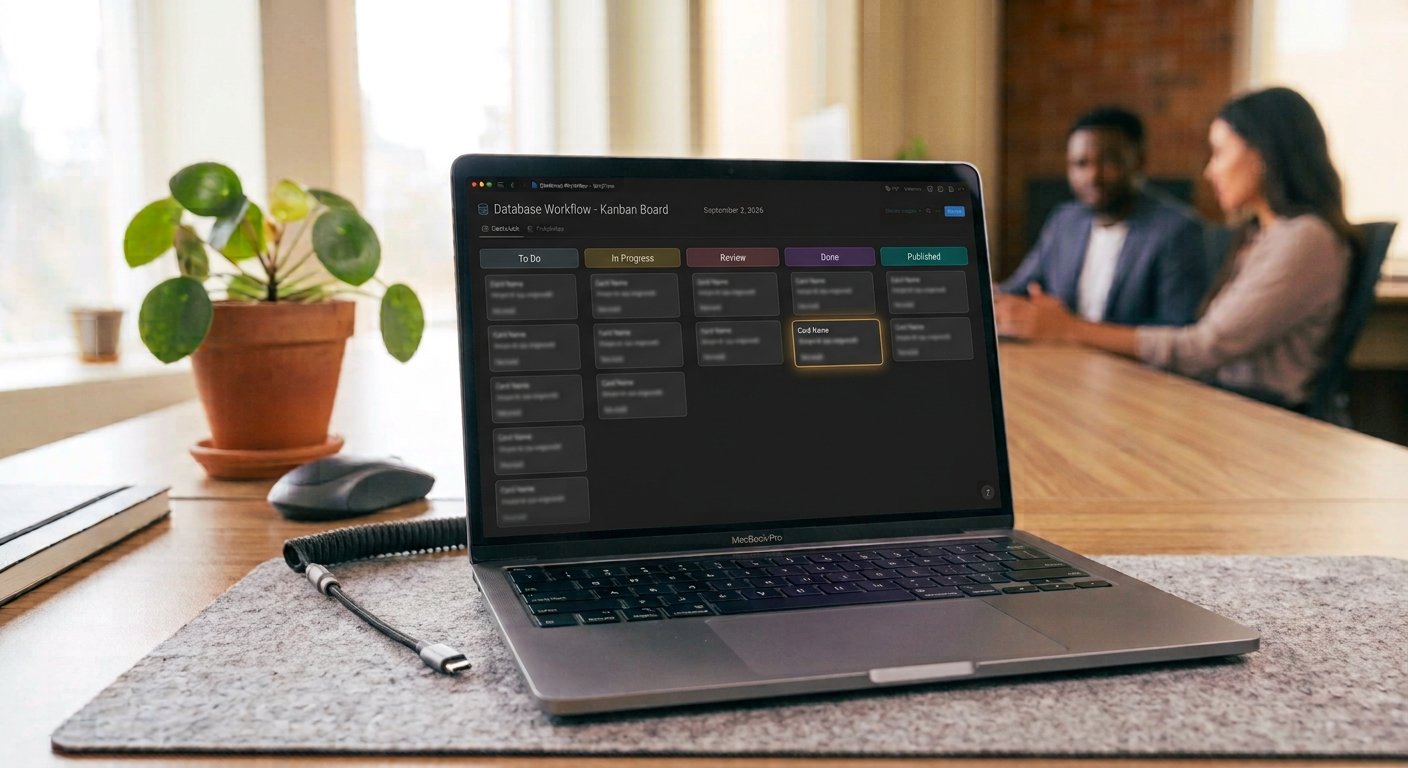
- Check your Trello board to confirm the card was created with the correct name, description, and due date.
- Once confirmed, turn the Zap on so it runs automatically going forward.
Common Use Cases for This Automation
- Content requests — a Google Form feeds a spreadsheet, which automatically creates a Trello card for each new content idea submitted.
- Bug or issue tracking — a shared bug-report spreadsheet automatically generates a card on your development board for each new entry.
- Sales or lead intake — new leads added to a spreadsheet automatically appear as cards in a sales pipeline board.
- Event or task planning — a spreadsheet checklist of tasks converts into individual, trackable Trello cards.
Troubleshooting Common Issues
H3: Cards Aren’t Being Created
Double-check that you selected the correct worksheet tab, and confirm the Zap is turned on rather than left in draft/test mode.
H3: Duplicate Cards Appearing
This usually happens when the “New or Updated Spreadsheet Row” trigger is used instead of “New Spreadsheet Row,” causing edits to existing rows to generate additional cards.
H3: Missing Information on Cards
Revisit your field mapping in Step 4 — a blank field on the card usually means that spreadsheet column wasn’t mapped, or the column header changed after the automation was originally set up.
Conclusion
Once set up, the ability to create Trello cards from Google Sheets automatically turns a tedious manual task into something that simply happens in the background. By connecting the two tools through Zapier, choosing the right trigger, and mapping your spreadsheet columns to the correct card fields, every new row becomes an actionable, ready-to-work card without anyone lifting a finger. Set it up once, test it thoroughly, and your spreadsheet and Trello board will stay in sync from that point forward.
FAQs
Can I create Trello cards from Google Sheets for free? Yes, Zapier offers a free plan that supports basic automations like this one, though higher usage volumes may require a paid plan.
Does this automation work with Google Forms too? Yes, since Google Forms responses typically feed into a connected Google Sheet, the same automation will generate a Trello card for each new form submission.
Can I map multiple spreadsheet columns to one Trello card field? Yes, Zapier allows you to combine multiple columns, such as a name and a notes field, into a single mapped field like the card description.
Why are duplicate Trello cards being created from my spreadsheet? This typically happens when the trigger is set to fire on both new and updated rows, causing edits to existing entries to generate additional cards.
Is there a way to create Trello cards from Google Sheets without Zapier? Yes, it’s possible using Google Apps Script with Trello’s API for a custom, code-based solution, though Zapier remains the simpler no-code option for most users.

1 thought on “How to Automatically Create Trello Cards from Google Sheets”